

Learn how to use stacks to layout your designs.
Grouping elements
To wrap elements in a stack:- Select one or more elements
- Press Cmd + G, or right-click to open quick actions and select Wrap in Stack
Updating layout and alignment
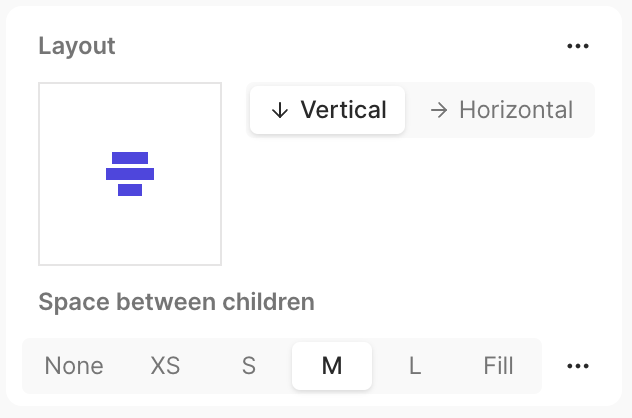
- Direction — Vertical, horizontal, or wrap
- Gap — Space between children (pixels or “fill” for space-between)
- Alignment — How children are positioned (start, center, end, space between, space around, stretch)
FAQ
How do I move an element to the opposite side?
How do I move an element to the opposite side?
First, ensure your parent stack has enough space (set width / height to fill).Solution 1 — Make the sibling fill (recommended)
- Select the sibling element
- Set width / height to Fill
- Select the parent stack
- Set gap to Fill
How do I align a single child differently from its siblings?
How do I align a single child differently from its siblings?
Alignment applies to all children in a stack, so you need to wrap the element in its own stack.
- Wrap the element in its own stack
- Set the wrapper stack’s alignment as needed
- Set the wrapper stack’s width or height to fill if needed